 Embedded Development
 Jetson Nano Complete Configuration Guide: From System Installation to Development Environment Setup
Jetson Nano is a small development board launched by NVIDIA for edge AI applications. It is deeply loved by makers and developers for its low power consumption and high performance. Whether running image recognition models, training small neural networks, or building remote development environments, Jetson Nano can handle it. However, the default configuration of the factory system is not necessarily the optimal solution - the graphical desktop occupies a lot of memory, development tools need to be manually installed, and service auto-start requires additional configuration.
This article will take you from scratch to complete the full configuration of Jetson Nano step by step: from optimizing system memory, installing Jupyter Lab (both native and Docker methods), deploying web-based VS Code, to setting up service auto-start, creating an efficient and stable edge AI development environment.
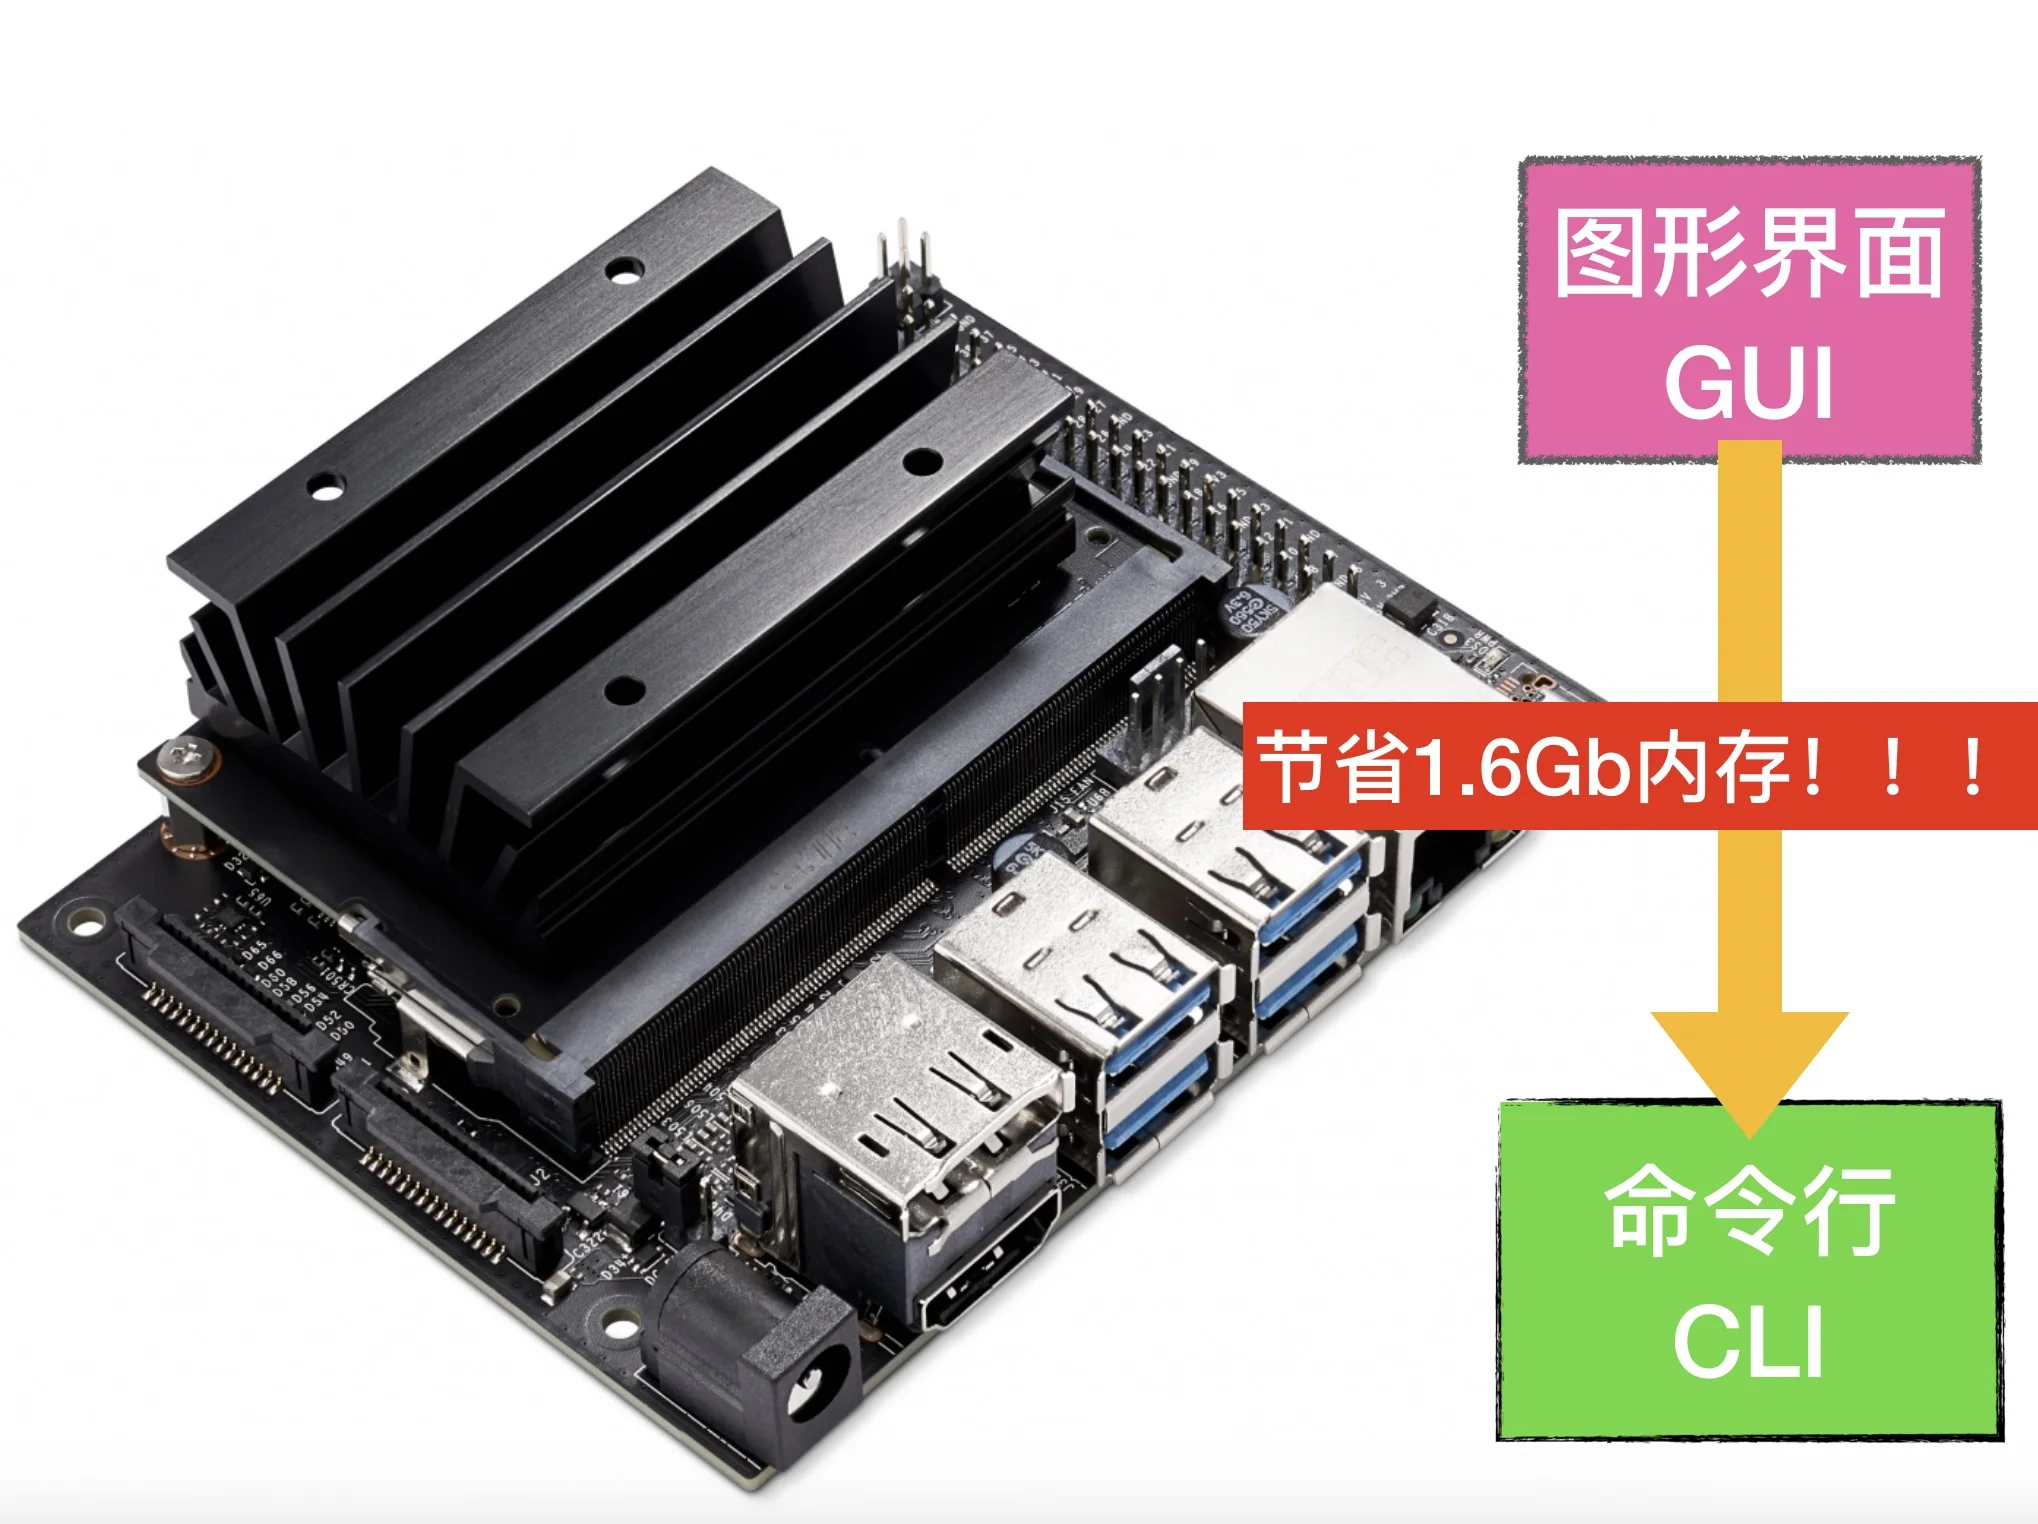
1. Memory Optimization: Switch to Command Line Mode to Save 1.6GB
1.1 Problem Description
Both Jetson Nano B01 and A02 are equipped with 4GB of memory, which is more than enough for running general applications. But if you need to run large applications or run multiple neural network models simultaneously, memory will become tight. If you are using the Jetson Nano 2GB version, this problem will be even more serious.
The solution is simple: either add memory (switch to a higher configuration development board), or reduce memory usage (turn off unnecessary system services). The most immediate method is to switch to command line (CLI) mode.
The figure below shows the memory usage after boot - the desktop environment occupies 2.2GB (53.6%), more than half of the memory is consumed like this.

1.2 Find Memory Hogs
Use the following command to view the top ten processes by memory usage:
ps aux --sort -rss | head
You will find that the processes with the largest memory usage are:
- Xorg - X Window graphics server, responsible for rendering the desktop
- gnome-shell - Main process of GNOME desktop environment
- firefox or other browsers - Network requests under desktop environment
- Other desktop-related daemons - Such as systemd-logind, polkit, etc.
1.3 Switch to Command Line Mode (CLI)
Since we usually remotely control Jetson Nano through JupyterLab or SSH most of the time, the graphical desktop has limited actual use. Run the following command to switch to command line mode:
sudo systemctl set-default multi-user.target
It takes effect after restart. Note: If you use WiFi remote login, Jetson Nano will not automatically connect to WiFi when not logged in, you need to plug in a network cable or connect a keyboard and monitor to operate.
Check memory status after restart:


Amazingly, memory usage dropped from 2.2GB to only 0.6GB (14.6%), saving a full 1.6GB of memory!
1.4 Switch Back to Desktop Mode (GUI)
If you occasionally need to use the graphical desktop, you can switch back with the following command:
sudo systemctl set-default graphical.targetIt takes effect after restart.
2. Jupyter Lab Installation (Native Method)
Jupyter Lab is the most commonly used development tool on Jetson Nano. NVIDIA’s official Jetbot introductory project uses JupyterLab as the routine execution environment. The native installation steps are as follows:
2.1 Install Dependencies
sudo apt-get update
sudo apt-get install python3-pip -y
2.2 Install JupyterLab
pip3 install jupyterlabAfter installation, you can start it with the jupyter lab command, which listens on port 8888 by default.
2.3 Configure Password
When starting for the first time, Jupyter will generate a token, which you can use to log in and set a password:
jupyter lab --ip=0.0.0.0 --port=8888 --allow-rootOpen http://<Your-Jetson-Nano-IP>:8888/lab in the browser, enter the token to set the password.
3. Install Jupyter Lab with Docker
Since JetPack 4.3, NVIDIA has introduced the concept of Cloud-Native. The JetPack system image comes with NVIDIA’s Docker. The advantage of using Docker is that you can quickly deploy the target environment, reduce the link of dependency installation, and greatly improve production efficiency.
3.1 Check if Docker is Installed Correctly
docker --versionIf version information can be displayed normally, it means Docker is installed. Otherwise, please refer to Docker official documentation for installation.
3.2 Choose Jupyter Docker Image
The Jupyter team provides multiple base images on Docker Hub, you can choose according to your needs:
- jupyter/base-notebook - Minimal installation, suitable for custom environments
- jupyter/scipy-notebook - Pre-installed scientific computing libraries (NumPy, Pandas, Matplotlib, etc.)
- jupyter/tensorflow-notebook - Pre-installed TensorFlow environment
- jupyter/datascience-notebook - Pre-installed data science toolchain
3.3 Download and Run
sudo docker pull jupyter/base-notebookRun the container:
sudo docker run -p 8888:8888 -v /home/bbot:/home/jovyan/work jupyter/base-notebook-p 8888:8888: Map the system’s 8888 port to the container’s 8888 port-v /home/bbot:/home/jovyan/work: Map the system home directory to the container’s/home/jovyan/work
After successful running, the terminal will output a URL containing a token, copy the URL to the browser to access Jupyter Lab.
3.4 Auto-start Docker Version of Jupyter on Boot
Slightly modify the startup command to support auto-starting the Jupyter container on boot:
sudo docker run --restart=always -d -p 8888:8888 -v /home/bbot:/home/jovyan/work jupyter/base-notebook--restart=always: Regardless of the current state of the container, the container automatically starts when Docker starts-d: Container runs in the background
3.5 Login to Host System Through Jupyter Lab
Sometimes you need to connect back to the host system from within Docker. Since base-notebook does not have openssh-client pre-installed, you need to install it first:
sudo apt-get update
sudo apt-get install openssh-client
After installation, you can login to the host through the Docker default bridge address:
ssh root@172.17.0.1If you want passwordless login, you can add the container’s public key to the host:
docker run -it jupyterdirect:0.0.1 cat /home/jovyan/.ssh/id_rsa.pub >> ~/.ssh/authorized_keys4. Docker + Jupyter One-Click Remote Notebook Environment Setup
If you need a more complete remote development environment - supporting password protection, SSH one-click login to host, long-term uninterrupted operation - you can build it through a custom Dockerfile.
4.1 Prerequisites
- Jetson Nano has Docker installed
- Already pulled
jupyter/minimal-notebookbase image - Have basic Linux command line operation experience
4.2 Write Dockerfile
Create the following Dockerfile:
FROM jupyter/minimal-notebook

USER root
RUN apt-get update
RUN apt-get install -y openssh-client
RUN apt-get -y clean

# Add sudo privileges for jovyan user (optional)
RUN usermod -aG sudo jovyan
RUN chmod +w /etc/sudoers
RUN echo "%sudo  ALL=(ALL) NOPASSWD: ALL" >> /etc/sudoers
RUN chmod -w /etc/sudoers

USER ${NB_UID}

# Generate SSH key and configure auto-login to host
RUN ssh-keygen -q -t rsa -N '' -f /dev/null 2>&1
RUN echo "ssh root@172.17.0.1" >> /home/jovyan/.profile
4.3 Build Image
Execute in the directory where the Dockerfile is located:
docker build . -t jupyterdirect:0.0.14.4 Run and Configure
First run:
docker run -p 46020:8888 -v /home/jovyan jupyterdirect:0.0.1Record the token output by the terminal, open http://<ServerIP>:46020/lab in the browser, enter the token to login.
After completing SSH authorization, switch to background running mode:
docker run -d --restart=always --privileged -p 46020:8888 -v /home/jovyan jupyterdirect:0.0.1This way, even if you close the local computer, the Jupyter session on Jetson Nano will not be interrupted.
5. Install Web Version of VS Code
For users who often do development, JupyterLab’s programming functions are relatively limited. Embedding Microsoft VS Code into Jetson Nano for remote development will bring a better programming experience.
5.1 Introduction to Web Version of VS Code
Visual Studio Code is a cross-platform free source code editor developed by Microsoft, supporting syntax highlighting, code auto-completion, code refactoring, and built-in command line tools and Git version control. VS Code for Web is a lightweight version running in the browser, the interface is almost identical to the desktop version, very suitable for remote development and debugging.
5.2 Installation Steps
Execute the following commands to complete the installation:
wget -N -O vscode-linux-deb.arm64.deb https://update.code.visualstudio.com/latest/linux-deb-arm64/stable
sudo apt install ./vscode-linux-deb.arm64.deb
5.3 Run
After installation, run in the terminal:
code-oss5.4 Install Python Plugin
Since we usually use VS Code for Python development, it is recommended to install Python-related plugins:
# Install Python toolkit
sudo apt-get install python3-pip -y
# Install Python linter
pip3 install pylint
# Install Python formatter
pip3 install black

# Install VS Code Python extension
code --install-extension ms-python.python --force
6. Configure Jupyter Lab Auto-start
When you have deployed Jupyter Lab, you need to manually start the service every time you restart, which is very inconvenient. By configuring auto-start through systemd, you can make Jupyter Lab run automatically on boot. This method is not only suitable for Jetson Nano, but also for single-board computers such as Raspberry Pi and Atomic PI.
6.1 Determine Jupyter Installation Location
which jupyter-labExample output:
/home/bbot/.local/bin/jupyter-labWhere bbot is your main account name.
6.2 Create systemd Service File
sudo nano /etc/systemd/system/jupyter.serviceFill in the following content (note to modify account name and Jupyter installation path):
[Unit]
Description=Jupyter Lab

[Service]
Type=simple
User=bbot
ExecStart=/home/bbot/.local/bin/jupyter-lab --port 8888
WorkingDirectory=/home/bbot/Notebook

[Install]
WantedBy=default.target
6.3 Enable and Start Service
sudo systemctl enable jupyter
sudo systemctl start jupyter
6.4 Check Service Status
sudo systemctl status jupyterIf the output shows active (running), it means the service started normally and can also run automatically after restart.
7. Summary
This article introduces the complete configuration process of Jetson Nano from zero to one:
- Memory Optimization - Switch to CLI mode, save 1.6GB memory, release more resources for AI inference tasks
- Jupyter Lab Native Installation - Suitable for developers who prefer to directly manage the system environment
- Jupyter Lab Docker Installation - Suitable for scenarios pursuing rapid deployment and environment isolation
- Docker + Jupyter Remote Environment - Supports password protection, SSH one-click login, long-term background operation
- VS Code Web Version - Powerful remote code editor, making up for JupyterLab’s programming shortcomings
- Service Auto-start - Make Jupyter Lab run automatically on boot through systemd
These configurations can be flexibly combined according to your actual needs. If you are only doing simple AI inference experiments, CLI mode + Jupyter Docker is the lightest solution; if you need a complete remote development experience, VS Code + Docker Jupyter auto-start is the best choice.
Happy tinkering! If you encounter problems during the configuration process, welcome to discuss in the comments section.