 Jetson Nano
 Jetson Nano - How to Set Up VNC Remote Desktop Control
This tutorial teaches you how to VNC into your Jetson Nano for remote desktop control without connecting a monitor.
While Raspberry Pi’s official system comes with RealVNC server pre-installed, requiring only a VNC Viewer download on your computer for convenient remote access, Jetson Nano isn’t as straightforward.
Without further delay, here’s the official VNC setup tutorial:
1. Install VNC Service
First, open the terminal on Jetson Nano desktop using the shortcut: Ctrl + Alt + T
Or, SSH into Jetson Nano and enter the following commands:
sudo apt update
sudo apt install vino
2. Set Up VNC Service Program
Go to the user home directory and create a new bash execution file
cd
nano openvino
In the nano interface, copy the following code into the new text file:
#!/bin/bash
export DISPLAY=:0
gsettings set org.gnome.Vino enabled true
gsettings set org.gnome.Vino prompt-enabled false
gsettings set org.gnome.Vino require-encryption false
/usr/lib/vino/vino-server &
Then use the shortcut to save the text file: Ctrl + x
Back in the terminal, modify the openvino file permissions to executable and run it
chmod +x ~/openvino
sudo reboot
Reboot the Jetson Nano
3. Start VNC Service
After rebooting, enter the Jetson Nano command line and run the program to start the VNC service
~/openvino(Note: Every time you start the system or restart the VNC service, you need to run this command to restart the VNC service)
You’ll see the prompt “No such key “enabled"", ignore it… And as expected, you’ll see the following runtime prompts:
jetson@jetson:~$ 18/11/2019 13:39:54 Autoprobing TCP port in (all) network interface
18/11/2019 13:39:54 Listening IPv6://[::]:5900
18/11/2019 13:39:54 Listening IPv4://0.0.0.0:5900
18/11/2019 13:39:54 Autoprobing selected port 5900
18/11/2019 13:39:54 Advertising security type: 'TLS' (18)
18/11/2019 13:39:54 Re-binding socket to listen for VNC connections on TCP port 5900 in (all) interface
18/11/2019 13:39:54 Listening IPv6://[::]:5900
18/11/2019 13:39:54 Listening IPv4://0.0.0.0:5900
18/11/2019 13:39:54 Clearing securityTypes
18/11/2019 13:39:54 Advertising security type: 'TLS' (18)
18/11/2019 13:39:54 Clearing securityTypes
18/11/2019 13:39:54 Advertising security type: 'TLS' (18)
18/11/2019 13:39:54 Advertising authentication type: 'No Authentication' (1)
18/11/2019 13:39:54 Re-binding socket to listen for VNC connections on TCP port 5900 in (all) interface
18/11/2019 13:39:54 Listening IPv6://[::]:5900
18/11/2019 13:39:54 Listening IPv4://0.0.0.0:5900
18/11/2019 13:39:54 Clearing securityTypes
18/11/2019 13:39:54 Clearing authTypes
18/11/2019 13:39:54 Advertising security type: 'TLS' (18)
18/11/2019 13:39:54 Advertising authentication type: 'No Authentication' (1)
18/11/2019 13:39:54 Advertising security type: 'No Authentication' (1)
The above indicates that our VNC service has been successfully started!
Press Ctrl + c to return to the command line and continue with other command operations (This won’t close the VNC service, its process continues running in the background)
3. Get IP Address
ifconfig | grep -A 1 wlan0

## You'll get the following information:
wlan0: flags=4163  mtu 1500
        inet 192.168.199.119  netmask 255.255.255.0  broadcast 192.168.199.255
The 192.168.199.119 after inet is the IP address of my Jetson Nano
4. Open VNC Viewer
Next, download and open VNC Viewer on your computer
When the security prompt appears, press continue,
You’ll see the user interface - success!
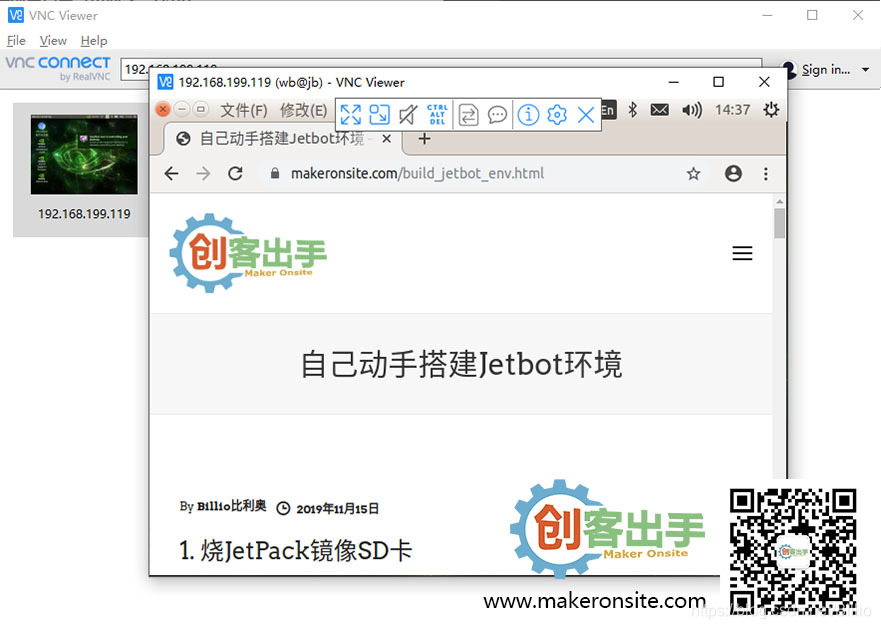
If you see the following prompt:
Reading version failed: not an RFB server?
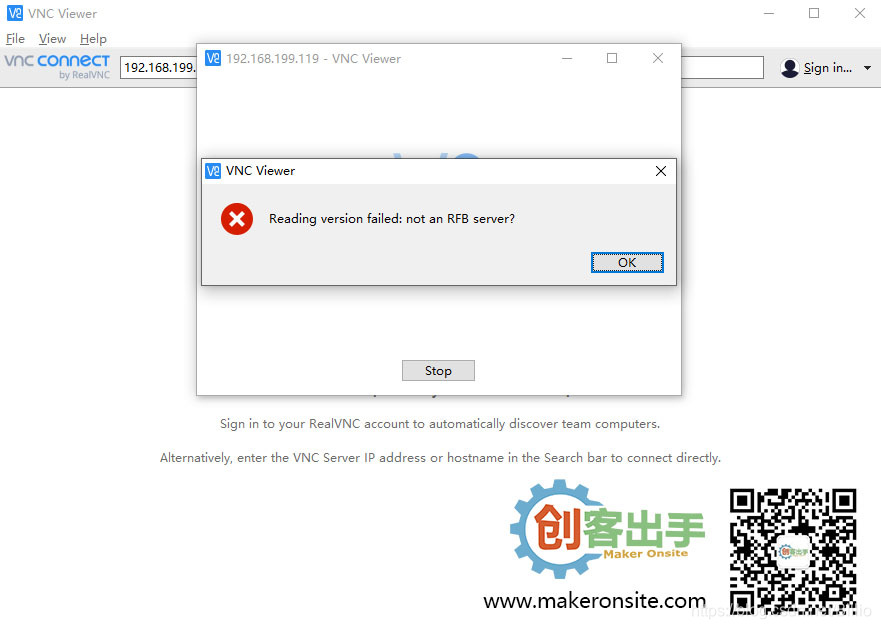 It means the VNC service wasn’t successfully started on Jetson Nano earlier, you’ll need to go back and debug, or let us know =)
5. Close VNC Service
If we need to close the VNC service, we first need to find out the vino-server background process number, then kill it.
Back in the Jetson Nano command line, enter the following:
ps -ef | grep vino

# You'll get the following information:
jetbot        7096     1  0 13:39 pts/0    00:00:00 /usr/lib/vino/vino-server
jetbot       10082  6770  0 13:48 pts/0    00:00:00 grep --color=auto vino
The 7096 above is the process number of my current VNC service, Adjust the process number according to your situation to kill the process:
kill 7096This will close the VNC service.