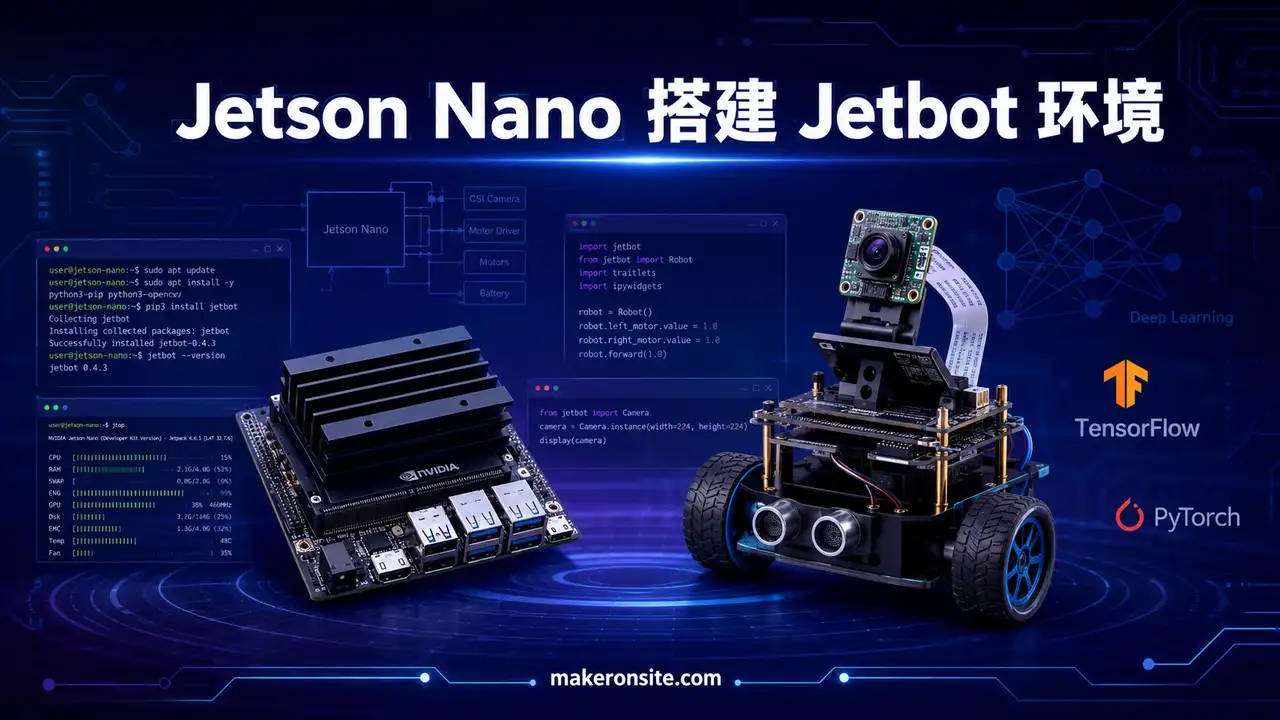
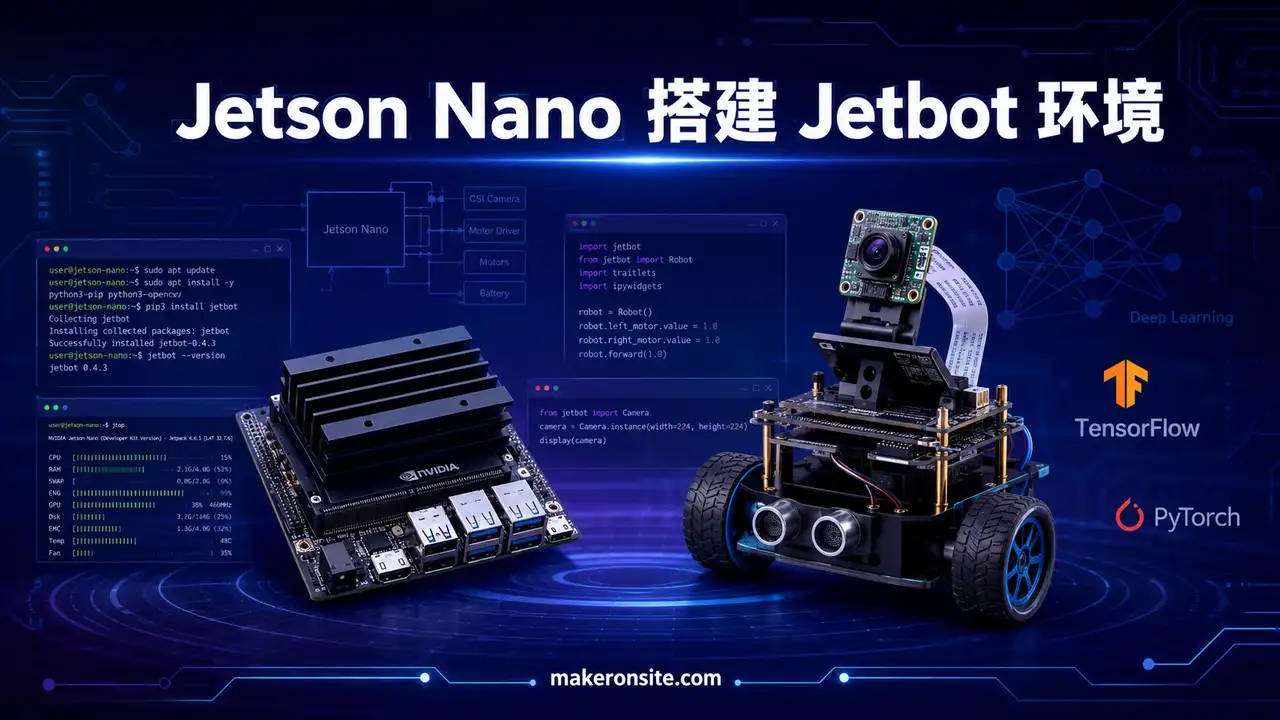
 Jetson Nano
 Jetson Nano - Building Jetbot Environment from Scratch
1. Flash JetPack Image to SD Card
-
Follow the official Jetson Nano Developer Kit guide to download the image and flash it to the SD card · Use the account password: Jetbot / Jetbot · Ensure the system is set to auto-login (no password required) · Insert the SD card into the Jetson Nano motherboard and power on
-
Open Terminal After booting up, press the shortcut key to open Terminal: Ctrl + Alt + T
-
Enable i2c permissions
// Enable i2c permissions
sudo usermod -aG i2c $USER;
2. Install pip3 and Python Dependencies
// Install pip and some python dependencies
sudo apt-get update
sudo apt install python3-pip python3-pil
sudo pip3 install -U pip
sudo pip3 install -U numpy==1.16.1 future==0.17.1 mock==3.0.5 h5py==2.9.0 keras_preprocessing==1.0.5 keras_applications==1.0.6 enum34 futures testresources setuptools protobuf
sudo pip3 install --upgrade numpy
3. Install TensorFlow
Install system packages required by TensorFlow
// Install system packages required by TensorFlow
sudo apt-get install libhdf5-serial-dev hdf5-tools libhdf5-dev zlib1g-dev zip libjpeg8-dev
Now install TensorFlow
// Installing TensorFlow
sudo pip3 install --pre --extra-index-url https://developer.download.nvidia.com/compute/redist/jp/v42 tensorflow-gpu
Verify the installation: Open Terminal, enter Python3, then type:
import tensorflowIf no error occurs, TensorFlow is successfully installed and running
4. Install PyTorch
- Download the PyTorch wheel file You need to download via the link (the editor will upload to Baidu Netdisk for direct download later)
- Transfer the installation file via SCP Transfer the file to the Jetson Nano user directory /home/jetbot via SCP
// Installing PyTorch
sudo pip3 install torch-1.0.0a0+18eef1d-cp36-cp36m-linux_aarch64.whl
sudo pip3 install torchvision
5. Install Traitlets
// Install traitlets (master, to support the unlink() method)
sudo python3 -m pip install git+https://github.com/ipython/traitlets@master
6. Install Jupyter Lab
// Install jupyter lab
sudo apt install nodejs npm
sudo pip3 install jupyter jupyterlab
sudo jupyter labextension install @jupyter-widgets/jupyterlab-manager
// Install jupyter lab
sudo jupyter labextension install @jupyterlab/statusbar If you see the above error, ignore it and continue
jupyter lab --generate-config
jupyter notebook password
// Set a password
cd
cd .jupyter
sudo nano jupyter_notebook_config.pyMove to the last line and add the following to the config:
c.NotebookApp.allow_origin = ’*’ c.NotebookApp.ip = ‘0.0.0.0’
7. Install This Repo
cd
sudo apt install python3-smbus

// Clone the Jetbot project from Github
git clone https://github.com/NVIDIA-AI-IOT/jetbot

cd jetbot
sudo apt-get install cmake
sudo python3 setup.py install
8. Install Jetbot Services
cd jetbot/utils
python3 create_stats_service.py
sudo mv jetbot_stats.service /etc/systemd/system/jetbot_stats.service
sudo systemctl enable jetbot_stats
sudo systemctl start jetbot_stats
python3 create_jupyter_service.py
sudo mv jetbot_jupyter.service /etc/systemd/system/jetbot_jupyter.service
sudo systemctl enable jetbot_jupyter
sudo systemctl start jetbot_jupyter
9. Create Swap File
sudo fallocate -l 4G /var/swapfile
sudo chmod 600 /var/swapfile
sudo mkswap /var/swapfile
sudo swapon /var/swapfile
sudo bash -c 'echo "/var/swapfile swap swap defaults 0 0" >> /etc/fstab'
10. Copy JetBot Notebooks to Home Directory
cp -r ~/jetbot/notebooks ~/Notebooks