 ESP32
ESP32 Building an Easy-to-Control and Fun Drone with ESP32
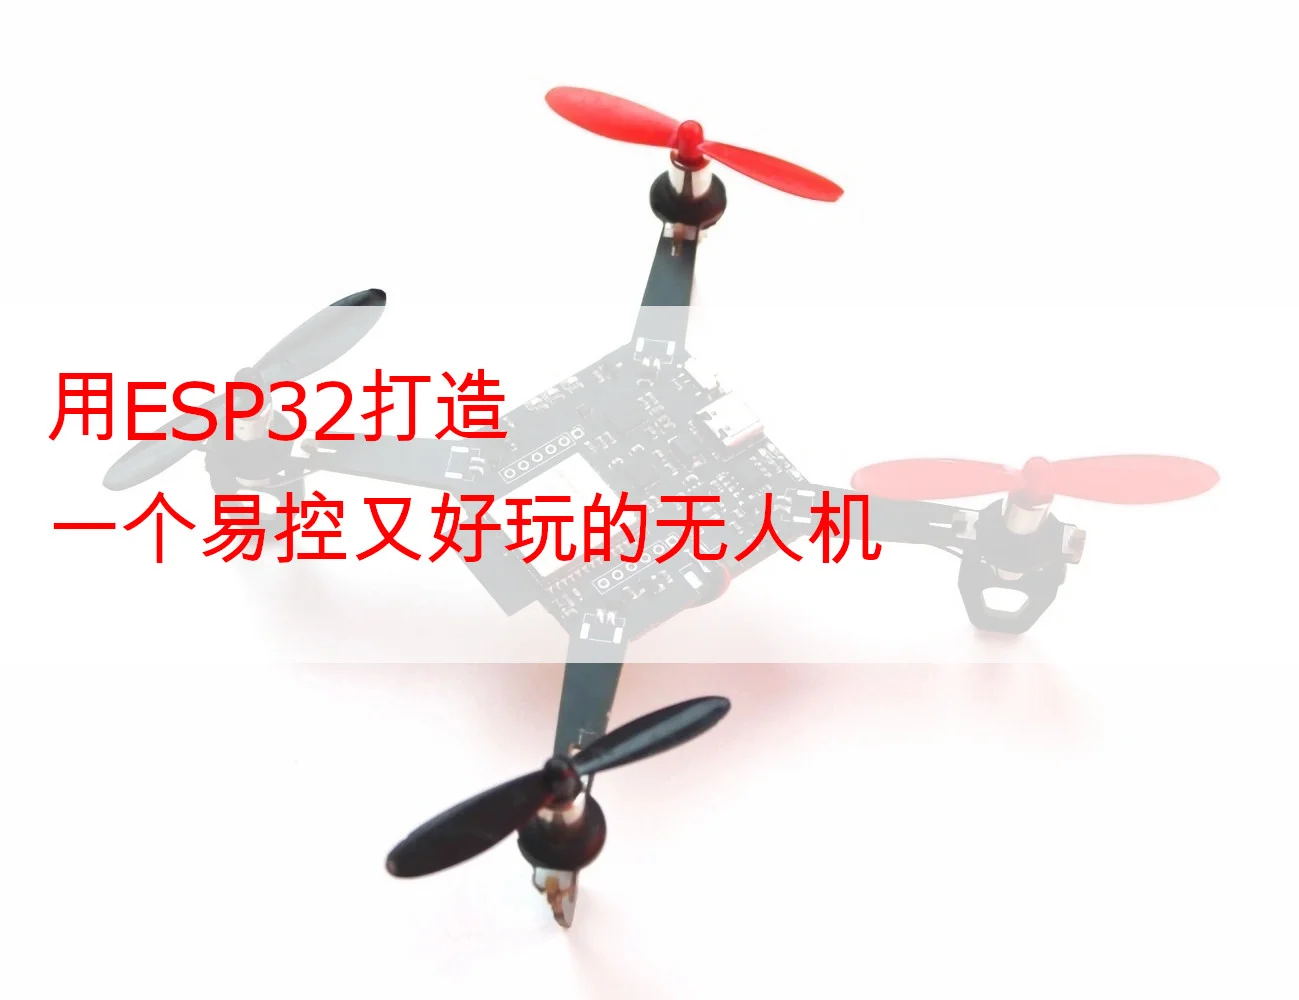
Drones are the favorite of tech enthusiasts, and developing your own drone with ESP32 is not only low-cost but also brings a great sense of achievement! ESP32 is a powerful microcontroller with integrated Wi-Fi and Bluetooth, perfect for DIY drone projects. This article will introduce how to build an easy-to-control drone with excellent user experience using ESP32, recommend several popular projects, and share build steps and practical tips. Whether you’re a beginner or an experienced maker, this article will help you get started quickly!
Why Choose ESP32 for a Drone?
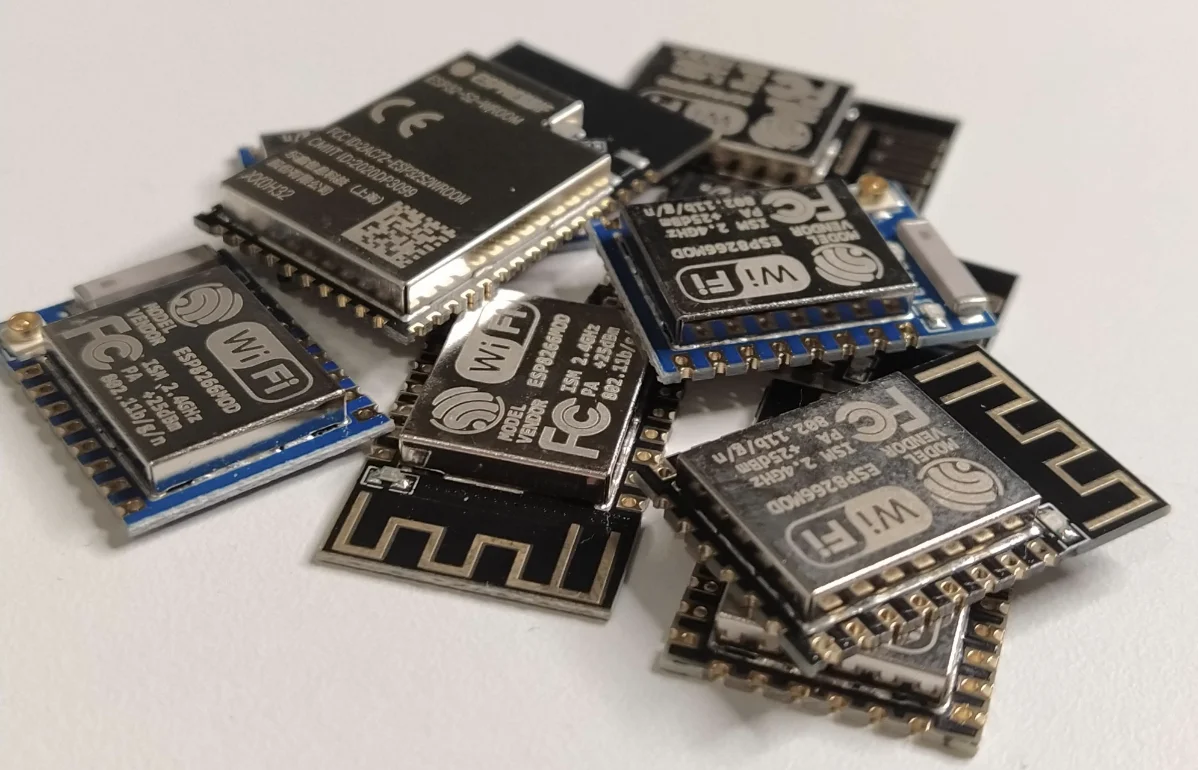
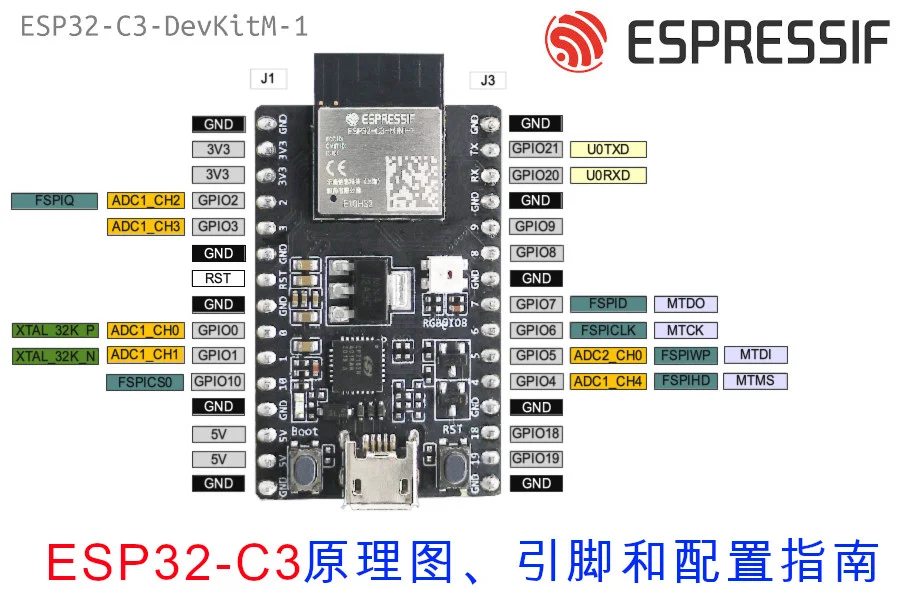
With its low cost (about 30-60 RMB), powerful performance (dual-core 240MHz processor), and built-in Wi-Fi/Bluetooth, the ESP32 is an ideal choice for DIY drones. Compared to traditional STM32 controllers, ESP32 is more suitable for enthusiasts with limited budgets, while supporting rich sensors (such as MPU6050) for stable flight control. Here are its major advantages:
-
Wi-Fi control: Remote control via phone or computer, no additional transmitter needed.
-
Open-source ecosystem: Large number of open-source projects and community support, with rich documentation.
-
High extensibility: Supports multiple sensors (such as barometers, optical flow sensors), enabling advanced features like altitude hold or position hold.
-
Lightweight and compact: Suitable for building small indoor or outdoor drones.
Next, we’ll recommend two easy-to-get-started ESP32 drone projects with excellent user experience, and teach you how to start!
Recommended Project 1: ESP-Drone (Espressif Official Project)
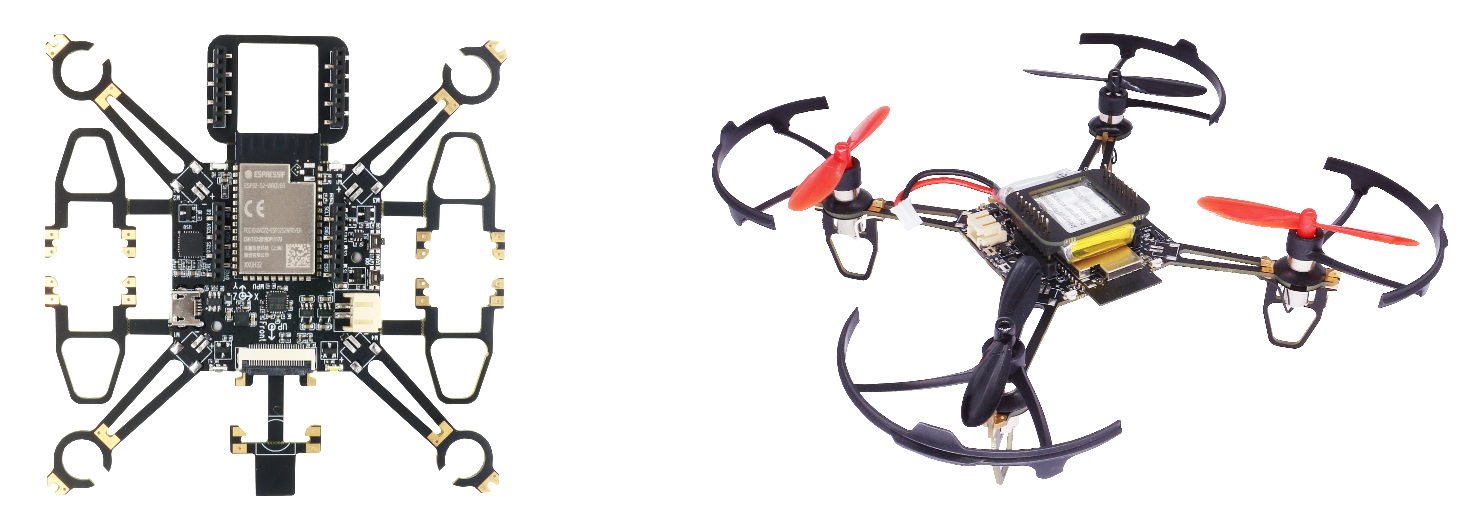
Project overview: ESP-Drone is an official open-source drone project launched by Espressif, designed for STEAM education and suitable for beginners. It supports ESP32, ESP32-S2, and ESP32-S3 modules, offers mobile App and game controller control, multiple flight modes, and comprehensive documentation.
Why is it suitable for beginners?
- Easy to control:
Control via mobile App (supports Android and iOS) or game controller (with cfclient software). The interface is simple and intuitive, with one-touch takeoff/landing and directional control.
Provides multiple flight modes:
-
Stable mode: Keeps the drone flying smoothly, suitable for beginners.
-
Altitude hold mode: Automatically maintains a fixed altitude (requires barometric sensor).
-
Position hold mode: Hovers at a fixed position (requires optical flow and TOF sensors).
Default settings are beginner-friendly, such as a maximum roll/pitch angle of 15° and maximum thrust of 90%, ensuring stable flight. User experience:
-
Simple hardware design: the main board integrates ESP32 and MPU6050 sensor, with expansion board supporting additional features. Assembly is not complicated.
-
The App provides real-time status feedback, such as connection status (green LED fast blink) and low battery warning (red LED), making it clear at a glance.
-
The drone creates its own Wi-Fi hotspot (SSID: ESP-DRONE_XXXX, password: 12345678), no external network needed, easy to connect.
-
Supports debugging tools (like cfclient) to view flight data (such as angle, thrust) for performance optimization.
Documentation support:
-
Espressif provides detailed official documentation (ESP-Drone docs), covering hardware assembly, firmware flashing, and App setup.
-
The GitHub community is active, and questions are answered quickly.
What to watch out for?
-
The basic kit only includes the MPU6050 sensor; flight may be slightly unstable. It’s recommended to add a barometric sensor (about 30-50 RMB) to enable altitude hold mode.
-
The mobile App may have installation issues on some Android devices. It’s recommended to test in advance or use a backup device.
-
The project has had fewer updates since December 2022, but the community still maintains it.
Cost: about 300-600 RMB (depending on sensors and expansion board) Recommended for: beginners, educators, enthusiasts who want to get started quickly
Recommended Project 2: Circuit Digest’s WiFi-Controlled Drone
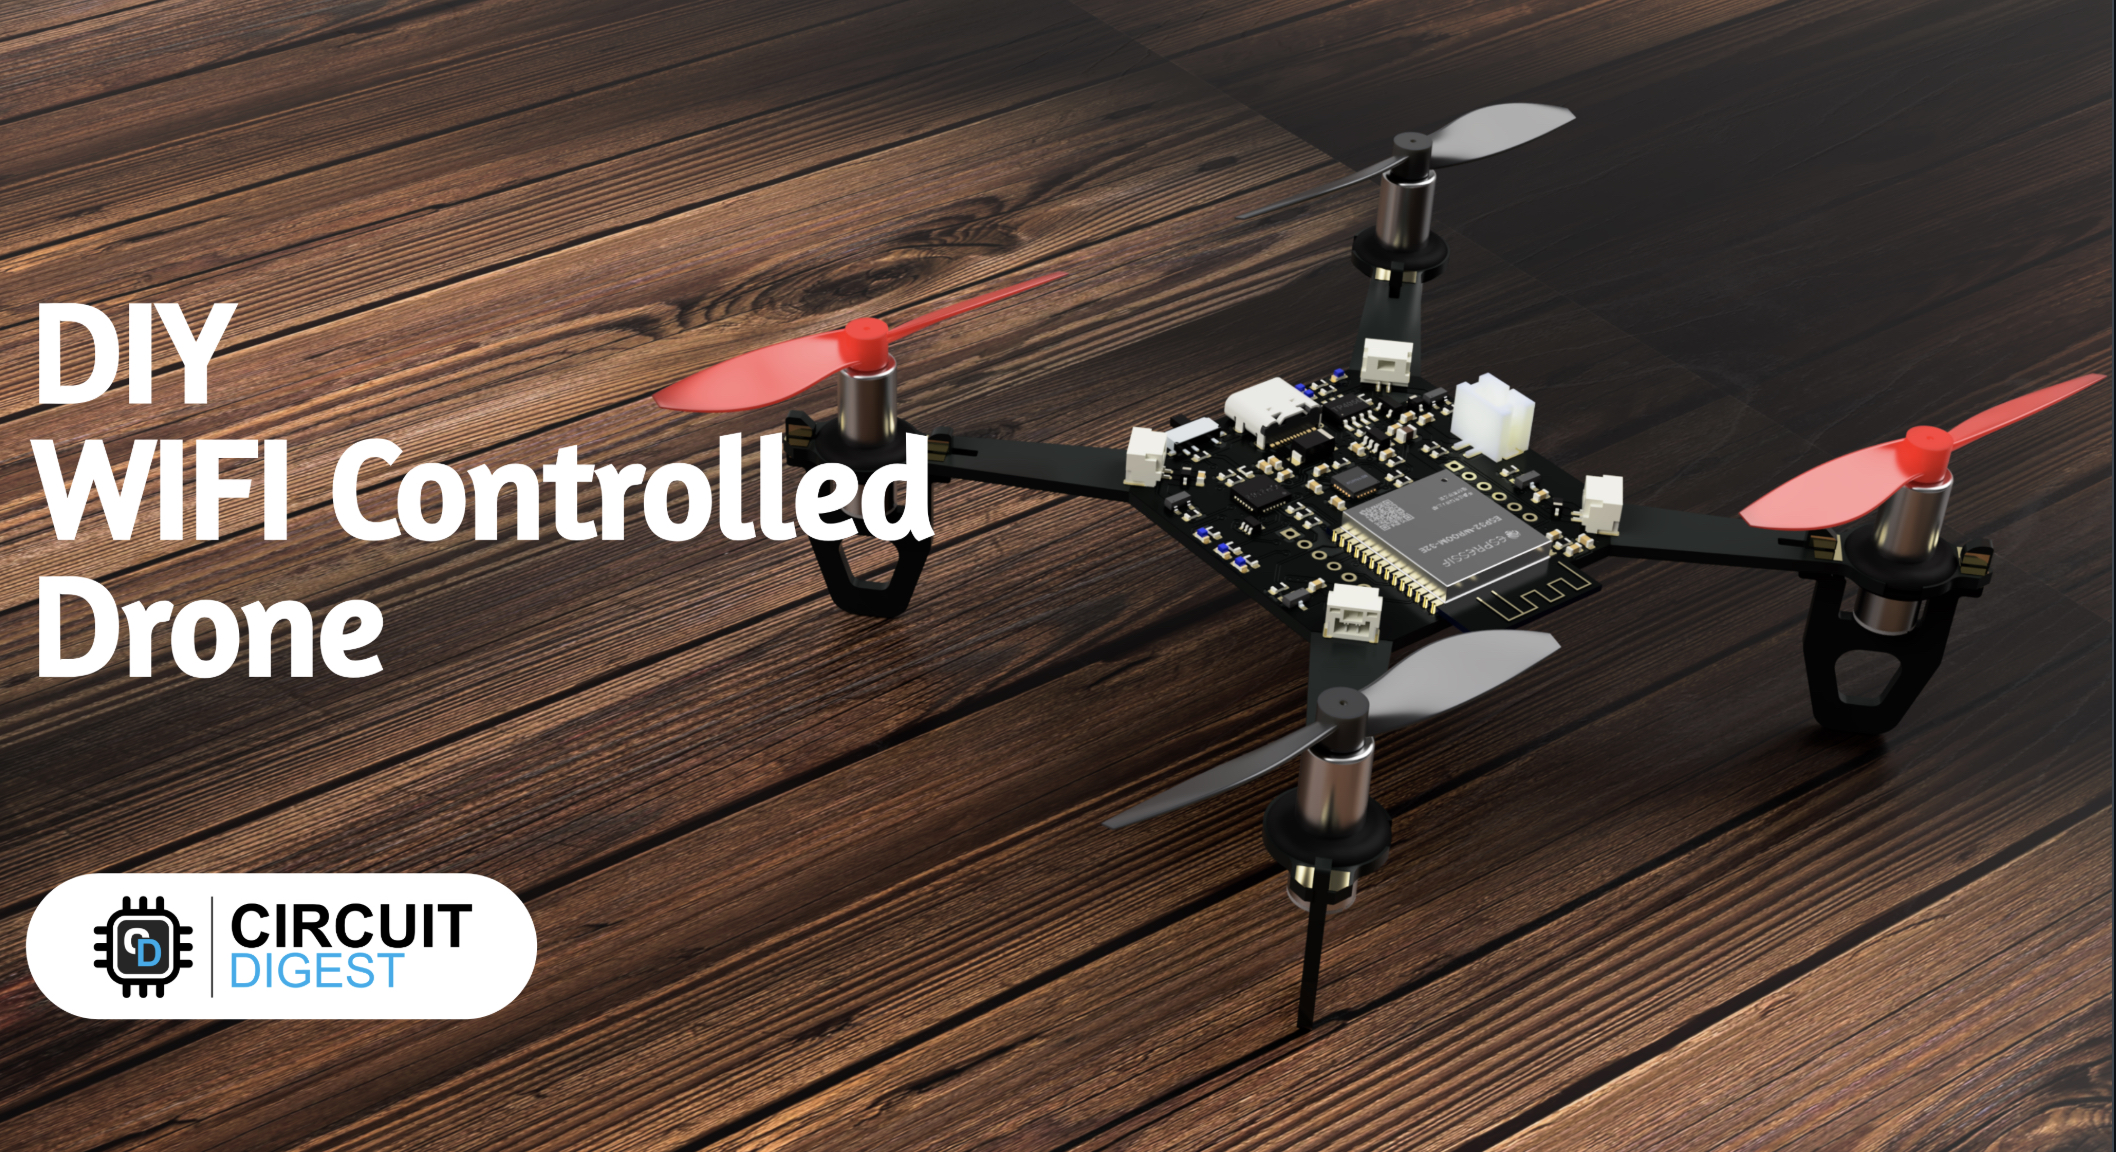
Project overview: This is a DIY drone project published by Circuit Digest, based on ESP32, focusing on smartphone control and compact design. It uses a custom PCB to simplify assembly, suitable for makers who enjoy hands-on practice.
Why is it worth trying?
- Easy to control:
Controlled via the ESP-Drone App, with a connect button, takeoff/landing stick, and direction control in the interface. Operation is intuitive.
-
Uses MPU6050 sensor for basic stability control, suitable for indoor or small-area flight.
-
Firmware is based on ESP-Drone (ESP-IDF 4.4.5), supports pre-compiled versions to reduce configuration hassle.
User experience:
-
Compact PCB design integrates ESP32, MPU6050, and motor drivers, no 3D-printed frame needed, simpler assembly.
-
Built-in battery charger and USB-C port, convenient for charging and debugging.
-
LED indicators provide status feedback: blue (sensor calibration), green (Wi-Fi connection), red (low battery), keeping you informed of the drone’s status at all times.
-
Open-source firmware and PCB schematics (GitHub link) allow customization, such as adding an altitude hold module.
Documentation support:
- Circuit Digest provides detailed tutorials (WiFi-controlled drone tutorial), covering circuit design, PCB assembly, and firmware flashing, suitable for enthusiasts with some foundation. Cost is transparent, with total parts around 1100 Indian rupees (about 100-150 RMB), great value for money.
What to watch out for?
-
Requires some soldering and PCB assembly experience; beginners may find it slightly complex.
-
The base version’s stability depends on the MPU6050; it’s recommended to add a barometric sensor to improve flight experience.
-
Compared to ESP-Drone, it has fewer advanced features but is lighter and suitable for small projects. Cost: about 100-150 RMB (core parts: ESP32 about 20 RMB, MPU6050 about 10 RMB) Recommended for: enthusiasts with some electronics foundation, makers who like compact designs
How to Start Your ESP32 Drone Project?
Whether you choose ESP-Drone or Circuit Digest’s WiFi drone, here are the universal build steps and practical tips to help you quickly build an easy-to-control drone!
Step 1: Prepare Required Parts
Here are the core components of a typical ESP32 drone:
-
ESP32 module: ESP32-S3 recommended (about 30-50 RMB), with better performance.
-
IMU sensor: MPU6050 (about 10-20 RMB), for attitude stabilization.
-
Motors and propellers: brushless or coreless motors (4 pieces, about 50-100 RMB), with small propellers.
-
Battery: 150-450mAh LiPo battery (25C or higher discharge rate, about 20-50 RMB).
-
PCB or dev board: custom PCB (ESP-Drone or Circuit Digest provides schematics) or breadboard for prototyping.
-
Optional sensors: barometer (like BMP280, about 30 RMB) for altitude hold, optical flow sensor for position hold.
-
Others: MOSFETs (like SI2302), ESCs, connecting wires, soldering tools.
-
Tip: Buy parts from reliable suppliers (such as Taobao, JD, or international platforms like DigiKey) to ensure quality. A budget of about 200-500 RMB is enough to start.
Step 2: Assemble Hardware
-
Solder PCB: According to the project schematic (like ESP-Drone’s reference design), solder ESP32, MPU6050, and motor drivers onto the PCB. Ensure solid connections to avoid short circuits.
-
Install motors and propellers: Fix the 4 motors to the frame, paying attention to propeller direction (different colors front/back for easy distinction).
-
Connect battery: Use a LiPo battery and check voltage, ensuring safe charging.
-
Calibrate sensors: After power-on, place the drone on a level surface and calibrate the MPU6050 to reduce drift. Tip: Take photos at each step during initial assembly for troubleshooting. Adding LED lights (like RGB LEDs) can improve visual feedback.
Step 3: Flash Firmware
- Download firmware:
ESP-Drone: Get it from GitHub, using ESP-IDF (v5.0 recommended).
- Circuit Digest: Download pre-compiled firmware from GitHub.
Install ESP-IDF: Follow Espressif’s official guide to set up the development environment (Windows/Linux/Mac all supported). Flash firmware: Connect ESP32 to the computer via USB-C and use ESP-IDF commands to flash the firmware. Configure Wi-Fi: Ensure the drone creates a Wi-Fi hotspot, and note the SSID and password. Tip: Beginners can directly use pre-compiled firmware to skip the compilation step. If customization is needed, adjust PID parameters to optimize flight stability.
Step 4: Set Up the Control App
- Download the App:
ESP-Drone: Android (PGYER) or iOS (App Store).
- Circuit Digest: Use the same App or a custom Python control script.
Connect Wi-Fi: Connect your phone to the drone’s hotspot (default password 12345678). Test control: Check the App interface, test takeoff, landing, and direction control, ensuring responsive operation. Tip: Test in a spacious indoor area, close App background refresh to reduce latency. If connection issues occur, try another phone or check the Wi-Fi signal.
Step 5: Flight Testing and Optimization
- Pre-flight checks:
Ensure the drone is placed level, LED indicators are normal (green fast blink means connected).
-
Check battery level and propeller installation.
-
Test thrust and direction response.
First flight:
-
Test in an open area (indoor or windless outdoor), keeping low altitude (1-2 meters).
-
Use stable mode and observe for drift or jitter.
Performance optimization:
-
If flight is unstable, check MPU6050 calibration, or add a 50-sample median filter in firmware to reduce sensor noise.
-
Adjust PID parameters (via cfclient or the App) to optimize roll, pitch, and yaw response.
-
Add a barometric sensor to enable altitude hold mode. Tip: Record the performance of each flight and gradually adjust parameters. Join communities (such as Reddit’s r/esp32 or Hackaday.io) for optimization suggestions.
Practical Tips and Notes
- Improve control stability:
MPU6050 sensor noise can cause drift; consider median filtering or upgrading to MPU9250.
- Add a barometer (like BMP280) for altitude hold — low cost with significant results.
Enhance user experience:
-
Use different colored propellers to distinguish front/back and improve orientation sense.
-
Add RGB LED lights for more status feedback (like low battery blinking).
-
If Wi-Fi range is limited (about 50 meters), upgrade to a high-gain antenna or explore 433MHz modules.
Safety first:
-
Always check motor direction and propeller installation before flight.
-
Avoid flying near people or obstacles, and use propeller guards.
-
Learn LiPo battery safe charging and storage practices to avoid over-discharge or short circuits.
Community resources:
-
Join ESP-Drone’s GitHub discussions or Circuit Digest’s comment sections for the latest updates.
-
Reference Hackaday.io ESP32 drone projects for inspiration.
-
Search “ESP32 Drone” on Bilibili or YouTube for DIY video tutorials.
Conclusion
Building an easy-to-control and fun drone with ESP32 not only improves your hands-on skills but also lets you experience the joy of flying! ESP-Drone is suitable for beginners seeking simplicity and official support, while Circuit Digest’s WiFi drone provides a compact solution for DIY-loving makers. Whichever project you choose, prepare the parts, follow the tutorials, and keep testing and optimizing — and you’ll have a drone of your own!
Want to start right away? Visit the ESP-Drone docs or Circuit Digest tutorial and get hands-on! If you have specific questions, such as parts sourcing, firmware debugging, or flight optimization, feel free to leave a comment and I’ll help you out!