 AI
AI 2026 Save Surveillance Camera RTSP Images and Videos with Code
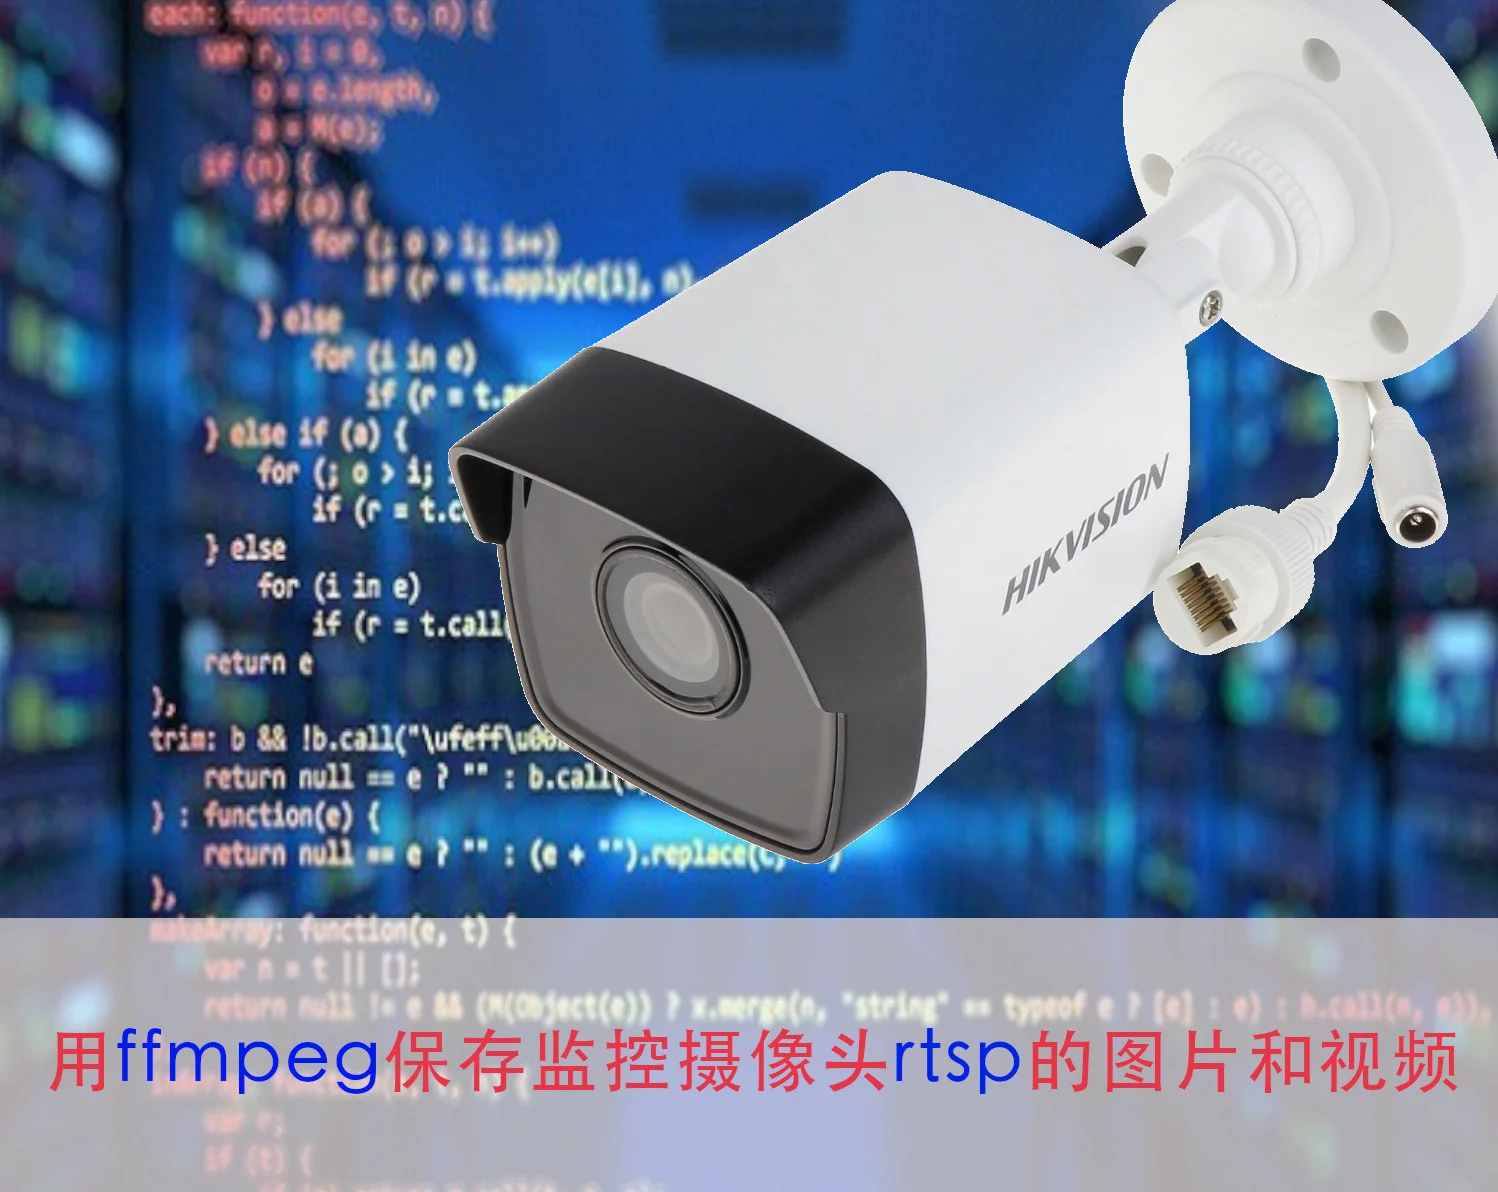
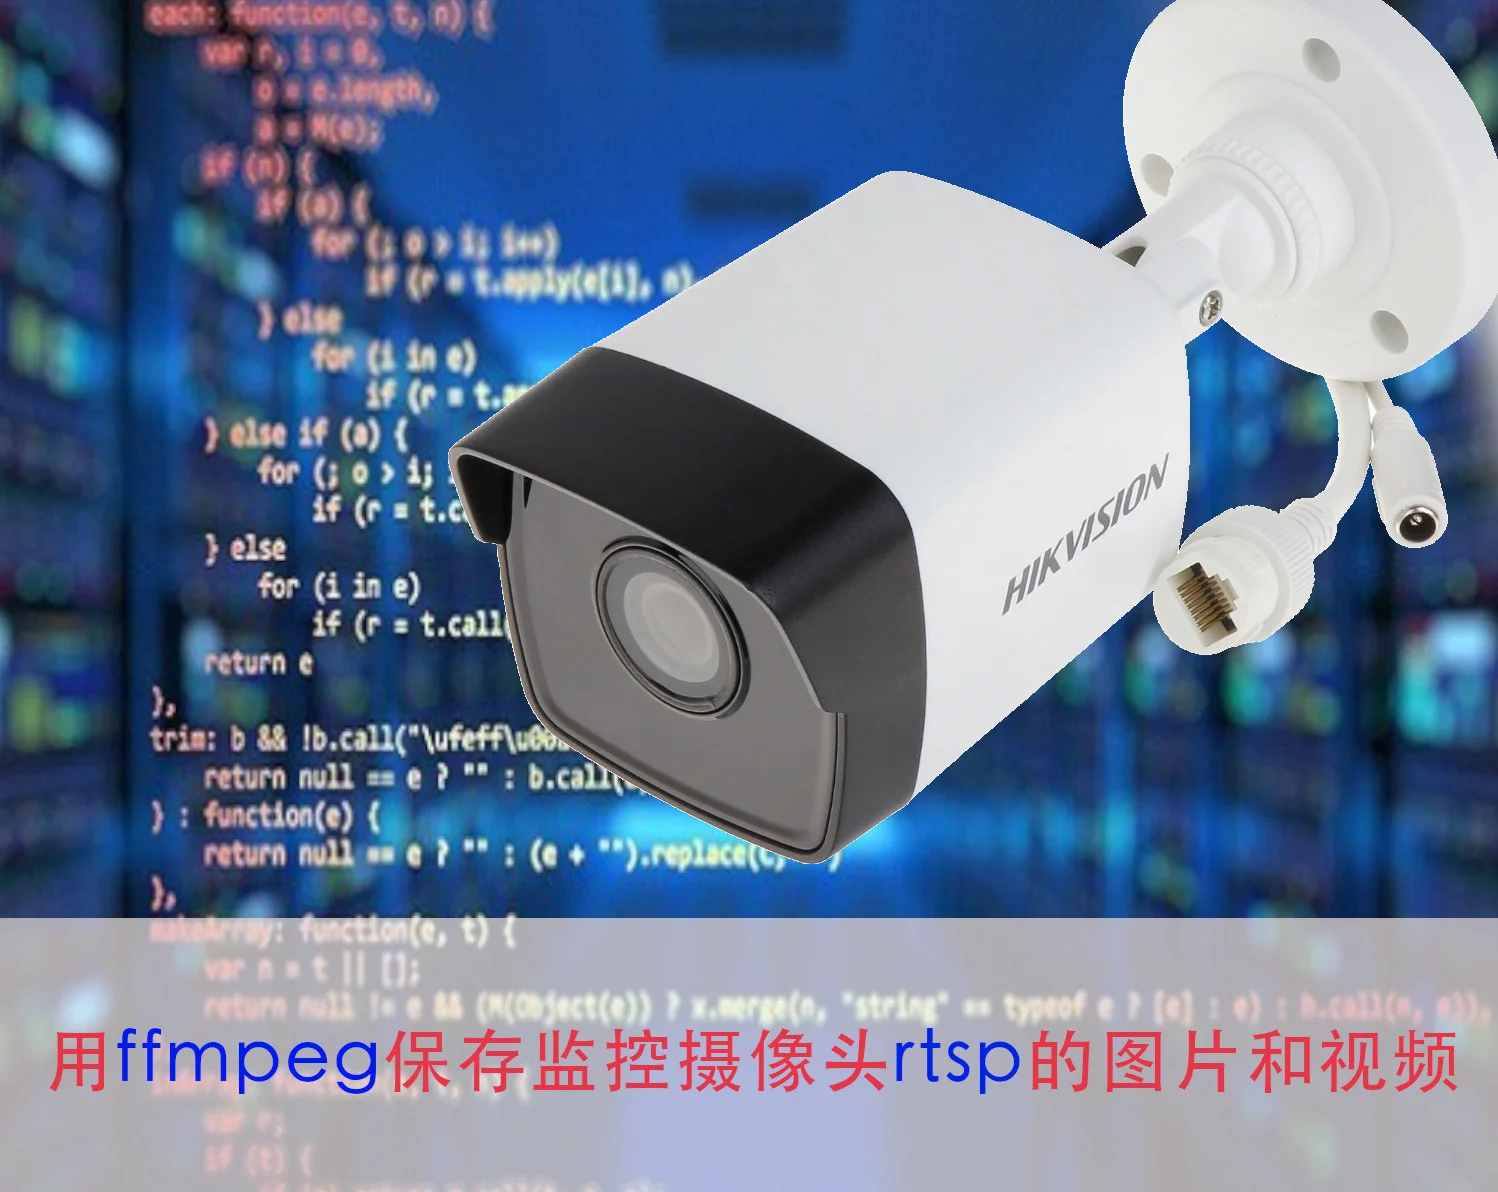
When installing surveillance cameras, we can choose to use the manufacturer’s recorder as a monitoring tool. But if you know a bit of programming, we can also connect directly to the camera through RTSP via our computer, saving footage or images to our computer. If you also have some AI programming skills, monitoring your objects of interest through camera footage becomes even more fun. But this article doesn’t discuss AI yet; we’ll first ensure the footage can be saved by the computer.
RTSP Introduction
Real Time Streaming Protocol (RTSP) is a network application protocol designed for use with entertainment and communications systems to control streaming media servers. The protocol is used to create and control media sessions between endpoints. The media server client issues VCR-style commands, such as play, record, and pause, to facilitate real-time control of media streaming from server to client (video on demand) or from client to server (voice recording).
RTSP for Surveillance Cameras
Most network surveillance cameras now support RTSP streaming. You can check the manual or log into the camera’s backend management interface to find the camera’s RTSP stream URL, username, and password, then enable it. Of course, if you enable camera streaming, remember to change the password to prevent hackers from gaining control of your camera by scanning default ports.
Common Major Brand Camera RTSP Addresses
Hikvision
| Description | RTSP URL | Type | Notes |
|---|---|---|---|
| Main stream of channel 1 | rtsp://{user}:{pwd}@{host}:{port}/Streaming/Channels/101 | Camera | New models |
| Sub stream of channel 1 | rtsp://{user}:{pwd}@{host}:{port}/Streaming/Channels/102 | Camera | New models |
| Multicast stream | rtsp://{user}:{pwd}@{host}:{port}/Streaming/Channels/101?transportmode=multicast | Camera/Recorder | |
| Main stream of channel 1 | rtsp://{user}:{pwd@{host}:{port}/{videotype}/ch1/main/av_stream | Camera | Old models (before 2012) |
| Sub stream of channel 1 | rtsp://{user}:{pwd@{host}:{port}/videotype}/ch1/sub/av_stream | Camera | Old models (before 2012) |
Notes: user: Username. Example: admin. pwd: Password. Example: 888888 (default). ip: Device IP. Example: 10.7.8.122. port: Port number defaults to 554, can be omitted if default. channel: Channel number, new format is N01, N02, N represents channel, e.g., 901; old format is chN, N represents channel, e.g., ch2 subtype: Stream type, main stream is 101 (new) or main, sub stream is 102 or sub
Dahua
| Description | RTSP URL | Type |
|---|---|---|
| Main stream of channel 1 | rtsp://{user}:{pwd}@{ip}:{port}/cam/realmonitor?channel=1&subtype=0 | Camera |
| Sub stream of channel 1 | rtsp://{user}:{pwd}@{ip}:{port}/cam/realmonitor?channel=1&subtype=1 | Camera |
Notes: user: Username. Example: admin. pwd: Password. Example: 888888 (default). ip: Device IP. Example: 10.7.8.122. port: Port number defaults to 554, can be omitted if default. channel: Channel number, starting from 1. For channel 2, it’s channel=2. subtype: Stream type, main stream is 0 (i.e., subtype=0), sub stream is 1 (i.e., subtype=1).
Using Python to Save Images or Video Clips
Preparation
First install ffmpeg tool
sudo apt install ffmpegSave Image
The following program can save one image with filename img001.jpg. If you need to save multiple images, you can change cap_count to greater than 1.
import os

user = '>>'
pwd = '>'
host = '>>'
port = 554
img_files = 'img%03d.jpg'
cap_count = 1

url = "rtsp://{user}:{pwd}@{host}:{port}/Streaming/Channels/101".format(user=user, pwd=pwd, host=host, port=port)

cmd = "ffmpeg -rtsp_transport tcp -y -i \"{url}\" -vframes {cap_count} {img_files}".format(url=url, cap_count=cap_count, img_files=img_files)
os.system(cmd)
Save Video
The following program can save a 10-second video with filename video.mp4. If you need to modify the video duration, you can change duration to another number.
import os

user = '>>'
pwd = '>>'
host = '>>'
port = 554
duration = 10
video_files = 'video.mp4'

url = "rtsp://{user}:{pwd}@{host}:{port}/Streaming/Channels/101".format(user=user, pwd=pwd, host=host, port=port)

cmd = "ffmpeg -rtsp_transport tcp -y -t {duration} -i \"{url}\" -acodec copy -vcodec copy -hide_banner -loglevel error -an {video_files}".format(url=url, duration=duration, video_files=video_files)
os.system(cmd)
FFmpeg RTSP Complete Command Reference
Below are the most commonly used parameters and command formats when using FFmpeg to process RTSP streams.
Core Parameter Description
| Parameter | Description | Example |
|---|---|---|
-rtsp_transport | Specify transport protocol | tcp (recommended) or udp |
-i | Input source | RTSP URL |
-t | Recording duration (seconds) | -t 30 means 30 seconds |
-vframes | Number of frames to save (image count) | -vframes 1 saves one image |
-vcodec | Video encoder | copy (direct copy) or libx264 |
-acodec | Audio encoder | copy or aac |
-an | Remove audio | Add this parameter when audio is not needed for recording |
-y | Overwrite existing files | Overwrite without asking |
-r | Frame rate | -r 1 means 1 frame per second |
-s | Resolution | -s 1280x720 |
FFmpeg RTSP Common Command Templates
# Basic command: capture one image from RTSP stream
ffmpeg -rtsp_transport tcp -y -i "rtsp://user:pwd@ip:554/stream" -vframes 1 snapshot.jpg

# Record 10 seconds of video
ffmpeg -rtsp_transport tcp -y -t 10 -i "rtsp://user:pwd@ip:554/stream" -c copy output.mp4

# Re-encode with H.264 and compress (smaller file)
ffmpeg -rtsp_transport tcp -y -t 30 -i "rtsp://user:pwd@ip:554/stream" -vcodec libx264 -crf 23 compressed.mp4

# Capture and adjust resolution
ffmpeg -rtsp_transport tcp -y -i "rtsp://user:pwd@ip:554/stream" -vframes 1 -s 640x480 small.jpg
Timed Screenshots: Using Cron to Take Photos Every N Seconds
In actual monitoring applications, we often need to take a photo every so often and save it.
Method 1: Using Linux Cron Scheduled Tasks
Create a screenshot script snapshot.sh:
#!/bin/bash
# snapshot.sh - capture one image from RTSP stream

USER='admin'
PWD='password'
HOST='192.168.1.100'
PORT=554
TIMESTAMP=$(date +%Y%m%d_%H%M%S)
OUTPUT_DIR="/home/user/snapshots"

mkdir -p "$OUTPUT_DIR"

URL="rtsp://${USER}:${PWD}@${HOST}:${PORT}/Streaming/Channels/101"

ffmpeg -rtsp_transport tcp -y -i "$URL" -vframes 1 "${OUTPUT_DIR}/snapshot_${TIMESTAMP}.jpg" 2>/dev/null
Add execute permission to the script:
chmod +x snapshot.shEdit crontab to set execution every minute:
crontab -eAdd the following line:
# Capture one image from camera every minute
* * * * * /home/user/snapshot.sh
If you only want screenshots during working hours (9:00-18:00):
# Monday to Friday, 9:00 to 18:00, screenshot every minute
* 9-18 * * 1-5 /home/user/snapshot.sh
Method 2: Python Loop Screenshot (More Flexible)
import os
import time
from datetime import datetime

user = 'admin'
pwd = 'password'
host = '192.168.1.100'
port = 554
interval = 60  # screenshot every 60 seconds
output_dir = '/home/user/snapshots'

os.makedirs(output_dir, exist_ok=True)

url = f"rtsp://{user}:{pwd}@{host}:{port}/Streaming/Channels/101"

while True:
    timestamp = datetime.now().strftime("%Y%m%d_%H%M%S")
    output_file = f"{output_dir}/snapshot_{timestamp}.jpg"

    cmd = f'ffmpeg -rtsp_transport tcp -y -i "{url}" -vframes 1 "{output_file}" 2>/dev/null'
    os.system(cmd)

    print(f"Screenshot saved: {output_file}")
    time.sleep(interval)
Record Specified Duration Video to MP4
The video saving example above already gave basic usage. Here are some additional useful options:
import os

user = 'admin'
pwd = 'password'
host = '192.168.1.100'
port = 554

url = f"rtsp://{user}:{pwd}@{host}:{port}/Streaming/Channels/101"

# Record 60 seconds of video, directly copy encoding stream (fastest, larger file)
cmd = f'ffmpeg -rtsp_transport tcp -y -t 60 -i "{url}" -c copy output_copy.mp4'
os.system(cmd)

# Record 60 seconds of video, re-encode with H.264 (high compression, smaller file)
cmd = f'ffmpeg -rtsp_transport tcp -y -t 60 -i "{url}" -vcodec libx264 -crf 23 output_compressed.mp4'
os.system(cmd)

# Record with audio
cmd = f'ffmpeg -rtsp_transport tcp -y -t 60 -i "{url}" -c copy output_with_audio.mp4'
os.system(cmd)

# Segmented recording (one file per hour, auto-named)
cmd = f'ffmpeg -rtsp_transport tcp -y -i "{url}" -c copy -f segment -segment_time 3600 -strftime 1 "recording_%Y%m%d_%H%M%S.mp4"'
os.system(cmd)
Handling Connection Drops: Auto Reconnect
RTSP connections may be interrupted due to unstable networks. The following methods can achieve automatic reconnection:
Method 1: Using FFmpeg’s -reconnect Parameter
ffmpeg -reconnect 1 -reconnect_streamed 1 -reconnect_delay_max 5 \
  -rtsp_transport tcp -i "rtsp://user:pwd@ip:554/stream" \
  -c copy -f segment -segment_time 3600 output_%03d.mp4
Method 2: Python Auto Reconnect Script
import os
import time
import subprocess

user = 'admin'
pwd = 'password'
host = '192.168.1.100'
port = 554
url = f"rtsp://{user}:{pwd}@{host}:{port}/Streaming/Channels/101"

def record_with_reconnect(url, duration=3600, max_retries=5):
    """Record video, auto reconnect after disconnect"""
    retry_count = 0

    while retry_count < max_retries:
        output_file = f"recording_{int(time.time())}.mp4"
        cmd = [
            'ffmpeg', '-rtsp_transport', 'tcp',
            '-y', '-t', str(duration),
            '-i', url,
            '-c', 'copy', '-an',
            '-loglevel', 'error',
            output_file
        ]

        print(f"Start recording: {output_file} (attempt {retry_count + 1}/{max_retries})")
        result = subprocess.run(cmd)

        if result.returncode == 0:
            print("Recording completed")
            retry_count = 0  # successful recording, reset retry count
        else:
            retry_count += 1
            wait_time = min(30, 5 * retry_count)  # incremental wait time
            print(f"Recording failed, retry after {wait_time} seconds...")
            time.sleep(wait_time)

    print("Maximum retry count reached, stop recording"

# Record one segment per hour, auto reconnect on disconnect
while True:
    record_with_reconnect(url, duration=3600)
Batch Processing Multiple Cameras
If you have multiple cameras that need to be recorded or screenshotted simultaneously, you can write batch processing scripts:
import os
import subprocess
from datetime import datetime

# Camera configuration list
cameras = [
    {
        'name': 'front_door',
        'url': 'rtsp://admin:pwd@192.168.1.100:554/Streaming/Channels/101'
    },
    {
        'name': 'backyard',
        'url': 'rtsp://admin:pwd@192.168.1.101:554/Streaming/Channels/101'
    },
    {
        'name': 'garage',
        'url': 'rtsp://admin:pwd@192.168.1.102:554/Streaming/Channels/101'
    }
]

output_dir = '/home/user/multi_camera'

def snapshot_all_cameras():
    """Screenshot all cameras simultaneously"""
    os.makedirs(output_dir, exist_ok=True)
    timestamp = datetime.now().strftime("%Y%m%d_%H%M%S")

    processes = []
    for cam in cameras:
        output_file = f"{output_dir}/{cam['name']}_{timestamp}.jpg"
        cmd = [
            'ffmpeg', '-rtsp_transport', 'tcp',
            '-y', '-i', cam['url'],
            '-vframes', '1',
            '-loglevel', 'error',
            output_file
        ]
        # Use subprocess.Popen for parallel screenshots
        p = subprocess.Popen(cmd)
        processes.append((cam['name'], p))

    # Wait for all screenshots to complete
    for name, p in processes:
        p.wait()
        print(f"{name} screenshot completed")

def record_all_cameras(duration=60):
    """Record all cameras simultaneously"""
    os.makedirs(output_dir, exist_ok=True)
    timestamp = datetime.now().strftime("%Y%m%d_%H%M%S")

    processes = []
    for cam in cameras:
        output_file = f"{output_dir}/{cam['name']}_{timestamp}.mp4"
        cmd = [
            'ffmpeg', '-rtsp_transport', 'tcp',
            '-y', '-t', str(duration),
            '-i', cam['url'],
            '-c', 'copy', '-an',
            '-loglevel', 'error',
            output_file
        ]
        p = subprocess.Popen(cmd)
        processes.append((cam['name'], p))
        print(f"Start recording {name}")

    for name, p in processes:
        p.wait()
        print(f"{name} recording completed")

# Execute batch screenshots
snapshot_all_cameras()
Common Errors and Solutions
Error 1: Connection timed out
Cause: Network is unreachable or camera RTSP is not enabled, or UDP transport mode is blocked by firewall.
Solution:
# Use TCP transport instead of UDP
ffmpeg -rtsp_transport tcp -i "rtsp://..."

# Increase timeout
ffmpeg -rtsp_transport tcp -stimeout 10000000 -i "rtsp://..."
Error 2: Protocol not found
Cause: FFmpeg was not compiled with RTSP support.
Solution:
# Check if FFmpeg supports RTSP
ffmpeg -protocols | grep rtsp

# If not supported, need to recompile FFmpeg or install full version
sudo apt install ffmpeg  # using package manager usually includes RTSP support
Error 3: Invalid data found when processing input
Cause: Camera encoding format is incompatible with FFmpeg, or stream type is incorrect (main stream vs sub stream).
Solution:
# First check camera video stream information
ffprobe -rtsp_transport tcp -i "rtsp://user:pwd@ip:554/stream"

# Try using sub stream (usually better compatibility)
# Hikvision: change 101 to 102, Dahua: change subtype=0 to subtype=1
Error 4: Output file does not contain any stream
Cause: Camera is streaming but FFmpeg failed to decode correctly.
Solution:
# Add -an to remove audio (some camera audio encoding is not supported)
ffmpeg -rtsp_transport tcp -y -t 10 -i "rtsp://..." -c copy -an output.mp4

# Force specify input format
ffmpeg -rtsp_transport tcp -f rtsp -i "rtsp://..." -c copy output.mp4
Error 5: Recorded file cannot be played
Cause: Program was forcibly killed during recording, MP4 file didn’t write moov atom (file index information).
Solution:
# Method 1: Use -movflags +faststart or -movflags +frag_keyframe+empty_moov
ffmpeg -rtsp_transport tcp -y -i "rtsp://..." -c copy -movflags +faststart output.mp4

# Method 2: Record as MKV format (MKV is more tolerant of interruptions)
ffmpeg -rtsp_transport tcp -y -i "rtsp://..." -c copy output.mkv

# Method 3: Use ts format (suitable for stream recording)
ffmpeg -rtsp_transport tcp -y -i "rtsp://..." -c copy output.ts
Hope these supplementary contents help you use FFmpeg more flexibly to process RTSP surveillance camera video streams!